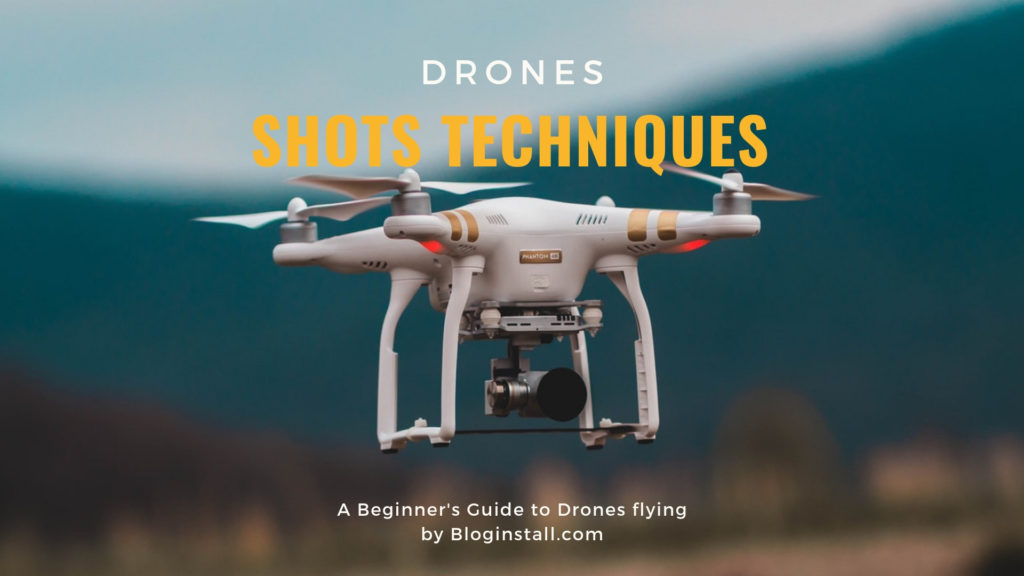
In the last 2 or 3 years, Drone is added in the field of photography which creates a new perception of Photography – high flying aerial camera takes photos from a high viewpoint of the main subject. flying a camera using drone looks costly but I guarantee you won’t be disappointed. you can capture amazing pictures from the top using drones for amazing Aerial photography. Before use drones for photography, you should know basic rules and regulations for flying.
Must read: Nikon D3500 reviews and specifications as Entry-Level D-SLR
Rules and Regulations for drones
Most countries have rules to follow, and while they can’t all be mentioned here, usually they are along the lines of these:
- The drone must always be in Line of Sight (LOS) – that basically means you should always be able to see it every time.
- Maximum Height 133 meters (400 feet)
- Never fly over groups of people, if may cause injur
- Respect others privacy
- No flying anywhere near airports and other no-fly zones as specified in each country
Must read: Ideas for Long Exposure photography
It’s suggested you check with your local air safety authorities for particular details in your area.
Unique Views from drones
One thing you will love is the amazing patterns you find in the landscape when viewed from above. Drones allow you to get into the area that most planes and helicopters are not allowed to – below 300 feet. Google Maps makes a great starting point for finding locations that look worth visiting.
It certainly beats putting your camera on the end of a ten-foot pole.
Must read: What is the correct shutter speed for Panning?
Shot Techniques and Maneuvers
Go Slow My first recommendation to anyone filming with a drone is to go slow. Slow is more cinematic, and it gives the viewer the impression you are shooting from a larger platform, such as a helicopter. This subconsciously increases the production value and makes the shot appear more controlled and crafted.
Make sure you also go easy on the RC control sticks on the remote. Use gradual movements and remember to accelerate and decelerate slowly
Pre-plan and visualize as many of your aerial shots as you can. I
recommend scouting your filming location before your shoot so you can factor in limitations of the area. Knowing what you’ll need ahead of time
will also help you optimize your drone’s battery life, so you don’t run into a
situation where you miss the shot you truly need
are out of power.
Use Two Axes of Movement
Imitate big-budget shots you see in movies, which are typically going
Strafe
Strafing or sideways movements also work quite well for
a strafing shot can stand out. It can also be an effective way to reveal
Orbit
Orbits can be achieved by having your drone strafe to the right or left, and also pulling the yaw stick in the opposing direction. (The yaw control is typically the control stick on the left side of the controller that controls the drone’s rotation.) It is crucial to go easy on the yaw control, or you’ll end
Fly-Through Shots
Fly-through shots can be quite cinematic, but they are going to be the most
risky since you’ll likely be relying only on your controller screen (FPV) in
order to navigate your drone. I wouldn’t attempt these unless you are
confident in your piloting skills. I’m personally not the biggest fan of these
shots, because when I see them it is a tell-tale sign that the shot was
filmed with a drone; this may distract your audience, making them think
more about the risk of the shot, instead of noticing the cinematography.
Gimbal Movements
You can also try gimbal movements combined with drone movements
Parallax
Add depth to your aerial scenes by taking advantage of extreme parallax
effects, often with trees or structures closer to the drone, which helps
provide a visual aid to the viewer for how large the surrounding landscape
actually is.
360 Pan
I don’t recommend just rotating on the yaw axis, or basically a 360 pan.
This is because drones typically have a hard time being precise with this
careful.
Weather and the Time of Day
When it comes to the weather, you are pretty much at the mercy of Mother
Nature. You’ll typically just want to fly on clear or cloudy days, and
which can freeze at higher altitudes. (I’ve seen this happen!)
Watch Out for Wind
The wind is the biggest enemy when it comes to the dreaded ‘jello’
typically don’t fly when the winds are over 20 mph or if there are
I don’t recommend relying too heavily on programs like After Effects
Sunrise and Sunset
Just like with ground-based cinematography, filming during the
Must read: Xiaomi Redmi Note 6 Pro launches in India with four camera
Camera Settings for drones for photography
- Use a Flat Image Profile
Camera settings will also play a big role in how cinematic yourshots appear . Make sure you film in the flattest camera profile possible,which should give you the most dynamic range from your aerial camera.Filming this way helps to prevent the sky and clouds from blowing out, whilealso retaining detail in the darkest points of the ground. - Set Your Shutter Speed
Lower shutter speed if possible, especially on shots close to the ground,to avoid the strobing effect. Anything under 100th to 250th of a second ismy recommendation , and use an ND filter if needed to keep yourshutter speed down. Shooting at 500th or 100th of a second, which iscommon among drone cameras, will give you sharper frames, but it can givethe footage some heavy strobing. - Post-Processing Let’s go over some post-processing techniques I use in After Effects to get
- better-looking results from my aerial shots.
- Correct Distortion
The first step is to remove any distortion from the footage, which is mainly
going to be done if you filmed with a GoPro camera. You’ll get much better
results if you shoot in 4K and are outputting the footage at 1080p; this
gives you more pixel density in a 1080p composition and will help preserve
image quality.
I add my footage to a 1080p composition and then add the effect Optics
Compensation. Check the box that says Reverse Lens Distortion, and
for a GoPro I typically put the field of view between 70 and 80.
If you want an even wider shot, you can check the box that says Optimize
Pixels. This will widen up the shot back to the original width, but you’ll
need to add black bars at the top and bottom, essentially converting this
shot to a 2:35 aspect ratio. - Add Motion Blur
If you had to film at a higher shutter speed, or if you are using a GoPro
camera and don’t have control over shutter speed, you’ll probably want to
add a motion blur effect to your footage in After Effects to make it look
more natural.
Use an effect like Pixel Motion Blur or the third-party plug-in Reel Smart
Motion Blur. This will help add natural motion blur to your shot and will
- Color Grade Your Footage
Finally, the two best color grading plug-ins I recommend for aerial footage are Red Giant Colorista and Film Convert.
Colorista is by far the best color corrector in After Effects and can also be used for color grading footage. It has a lot of options and versatility,
especially in regards to tweaking the hue and saturation of specific colors in your scene.
Film Convert is a film emulation plug-in that really can help differentiate your footage and give it a cinematic feel by adding a true film aesthetic.
You can select from different film stocks and do some minorcolor correction . The film stocks help add cinematic value to your footage and help pull them away from the standard ‘drone video’ look.


